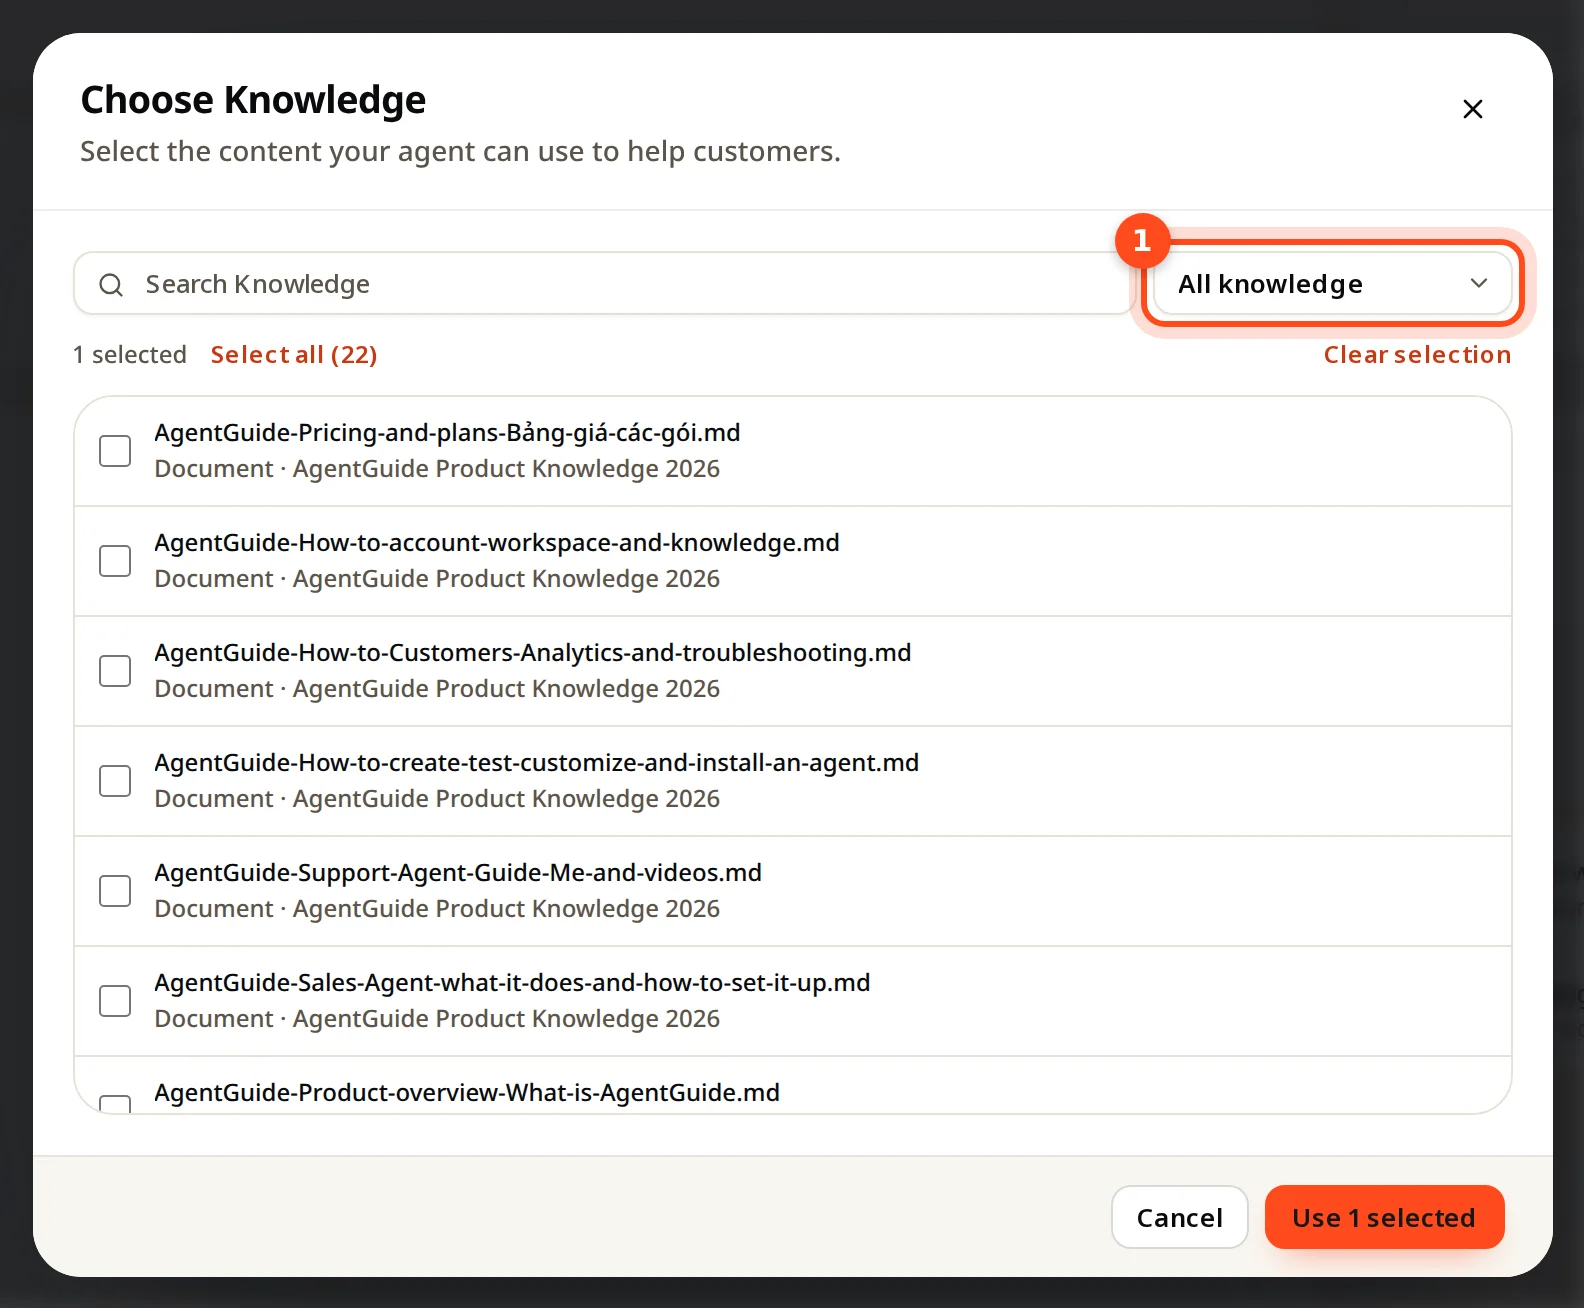

Open Agents → Create agent, choose its job (Sales, Support, or Sales & Support), name it, pick its knowledge, and click Create agent. The job can't be changed later.
An agent is the assistant that chats on your website. You can have 1 agent on Free and Starter, 3 on Growth and 10 on Pro.
Steps
- Open Agents in the menu and click Create agent.
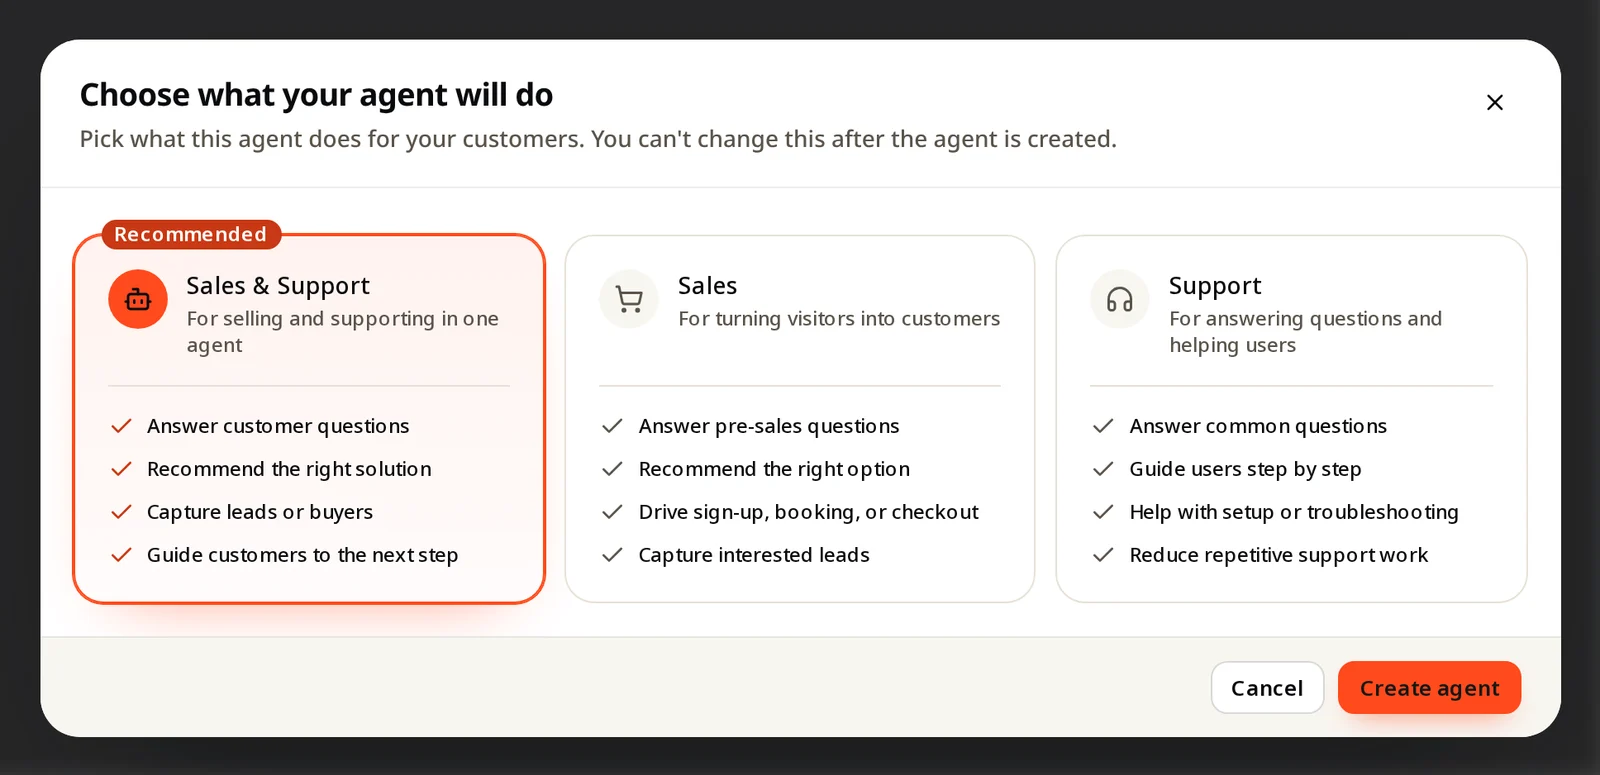
- Choose what your agent will do:
- Sales & Support (Growth plan and up): sells and helps, depending on what the visitor asks.
- Sales: turns visitors into customers and leads.
- Support: answers questions and shows users where to click.
- Give it a name and pick its knowledge.
- Click Create agent.
Choose what it knows
On the agent page, click Change selection next to Knowledge.

Tick the documents, products or whole groups this agent may use. The menu at the top switches between all knowledge, groups, documents and products. Click Use … selected to confirm, then Save.