

Four steps - add knowledge, create the agent, test it, install one script. The Free plan needs no credit card.
It takes about 15 minutes. Sign up at agentguide.site with your email or Google. You start on the Free plan, no credit card.
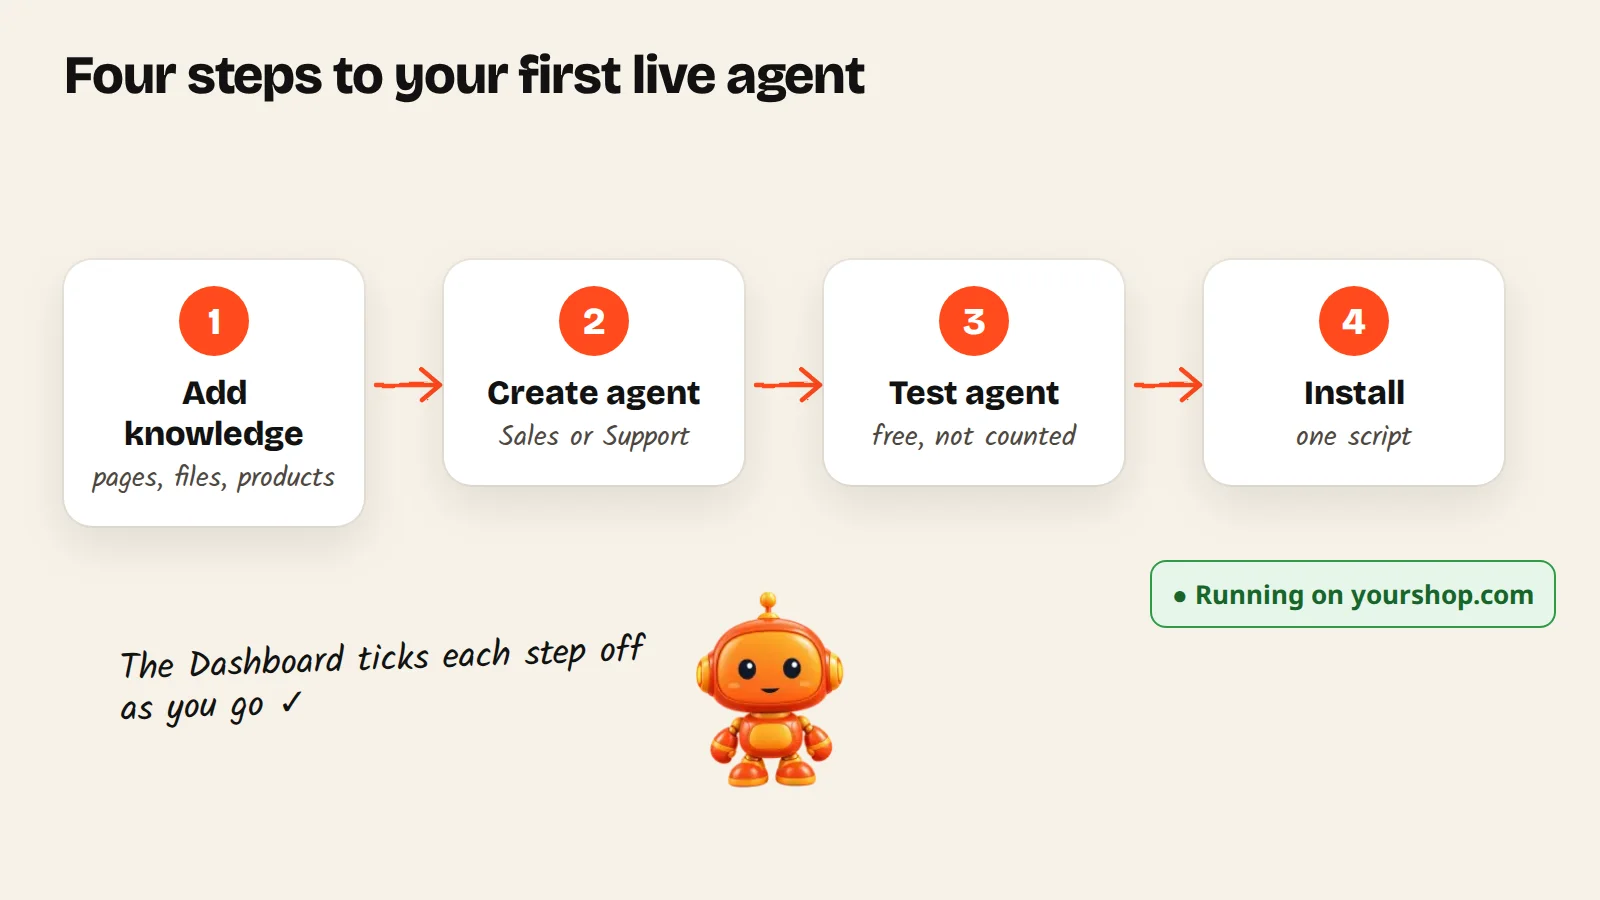
Your Dashboard shows the same four steps as a checklist and ticks each one when it's done.
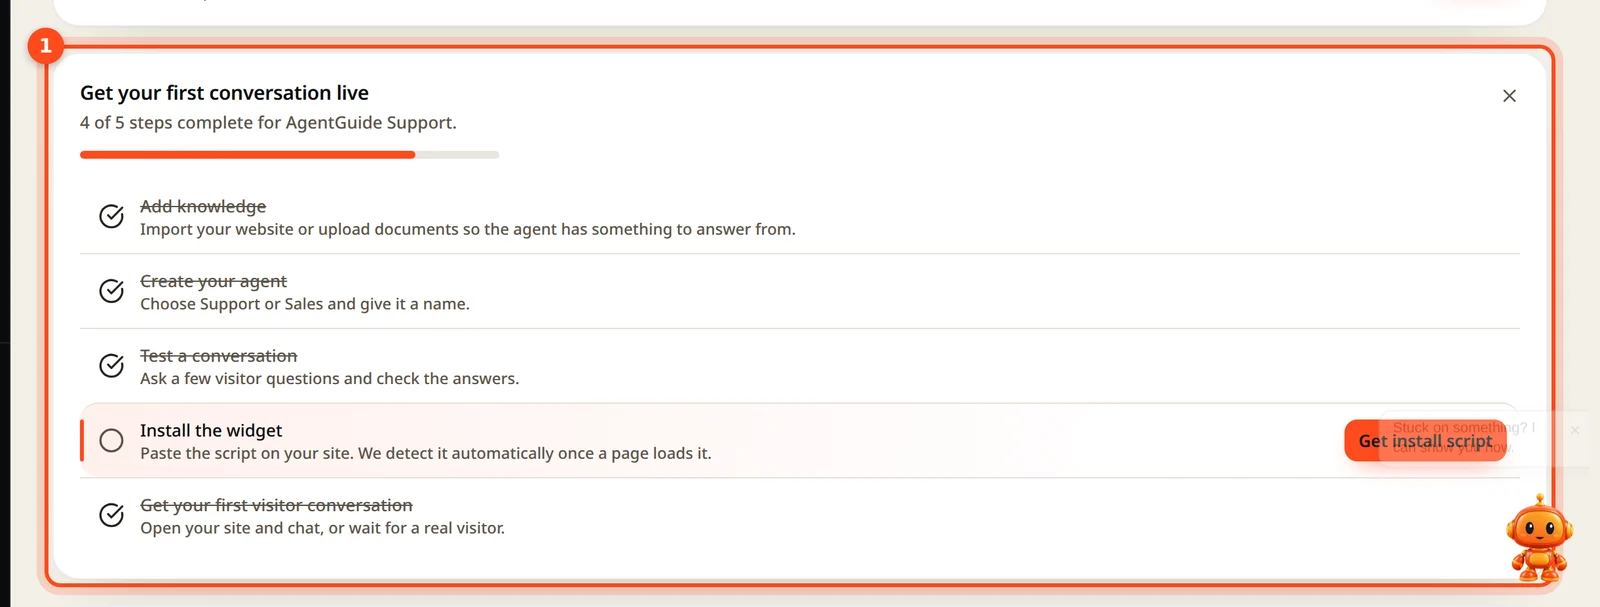
Step 1: Add your knowledge
Your agent only answers from what you give it.
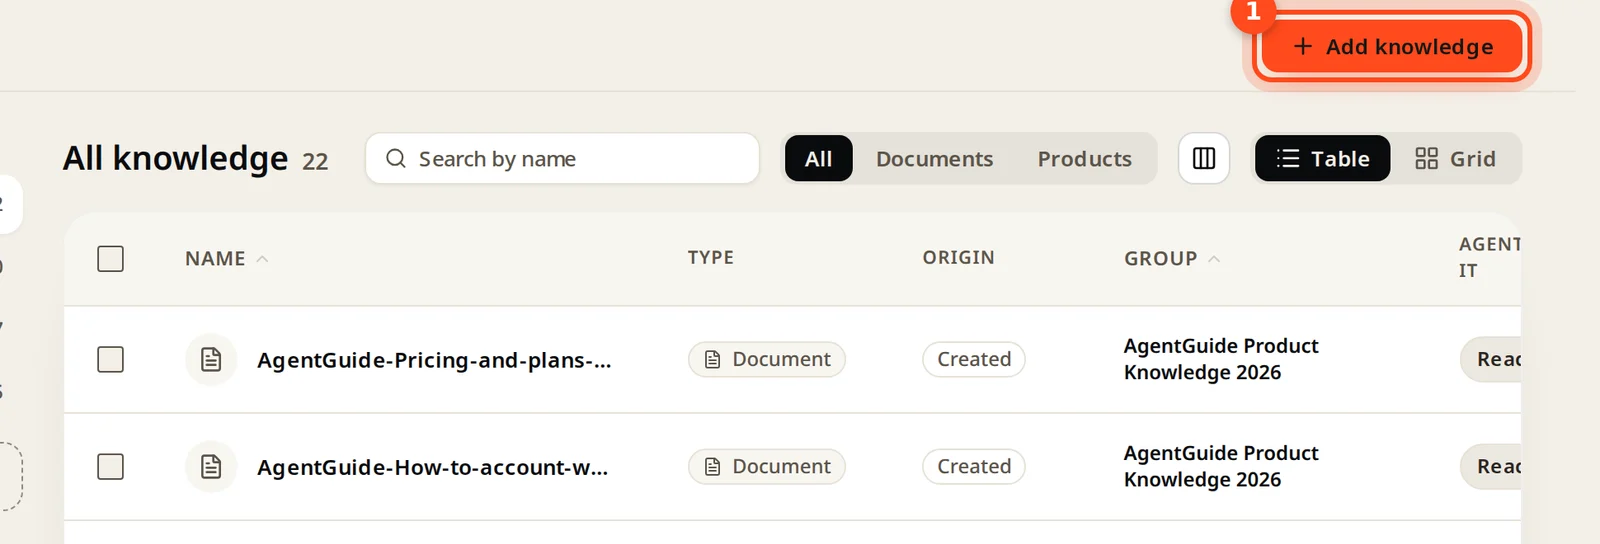
- Open Knowledge in the menu.
- Click Add knowledge.
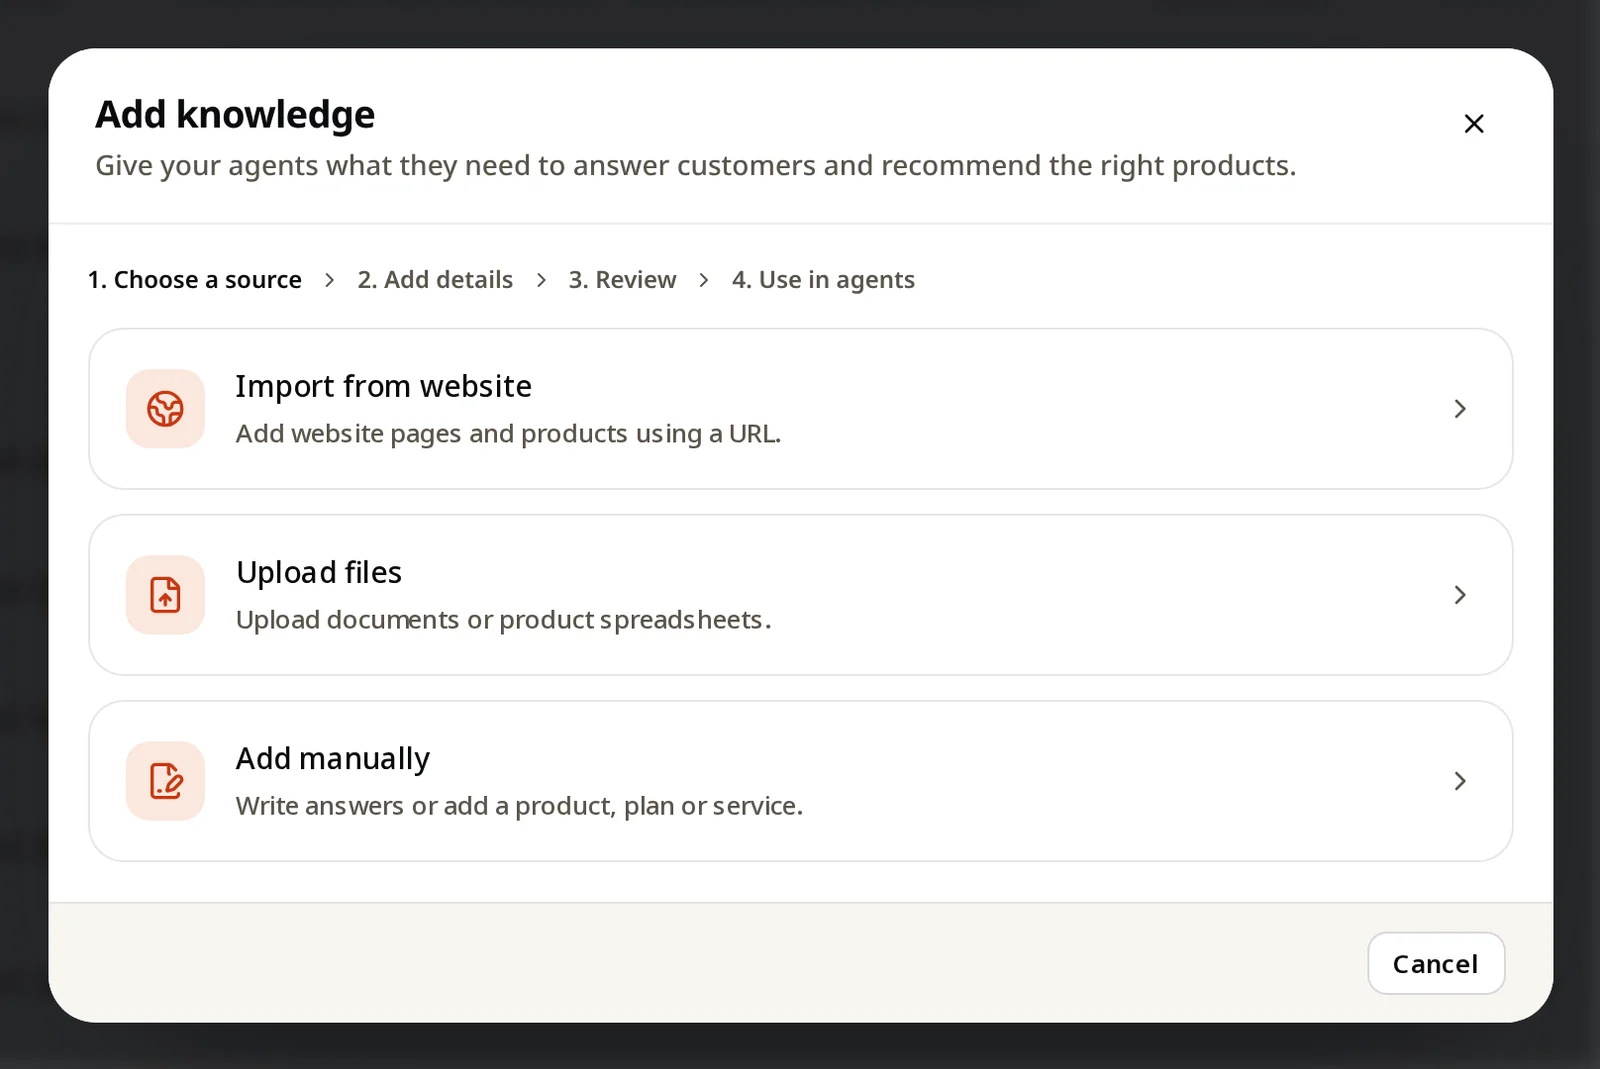
- Pick where the knowledge comes from:
- Import from website: paste your site's address. Good for FAQs, policies and product pages.
- Upload files: PDF, Word, text, or a product list (CSV, JSON).
- Add manually: type an answer, or add a product, plan or service.
Wait until each item shows Ready. Then the agent can use it.
Step 2: Create your agent
- Open Agents and click Create agent.
- Choose what it does: Sales & Support (Growth plan and up), Sales, or Support. You can't change this later.
- Give it a name, pick its knowledge, and click Create agent.
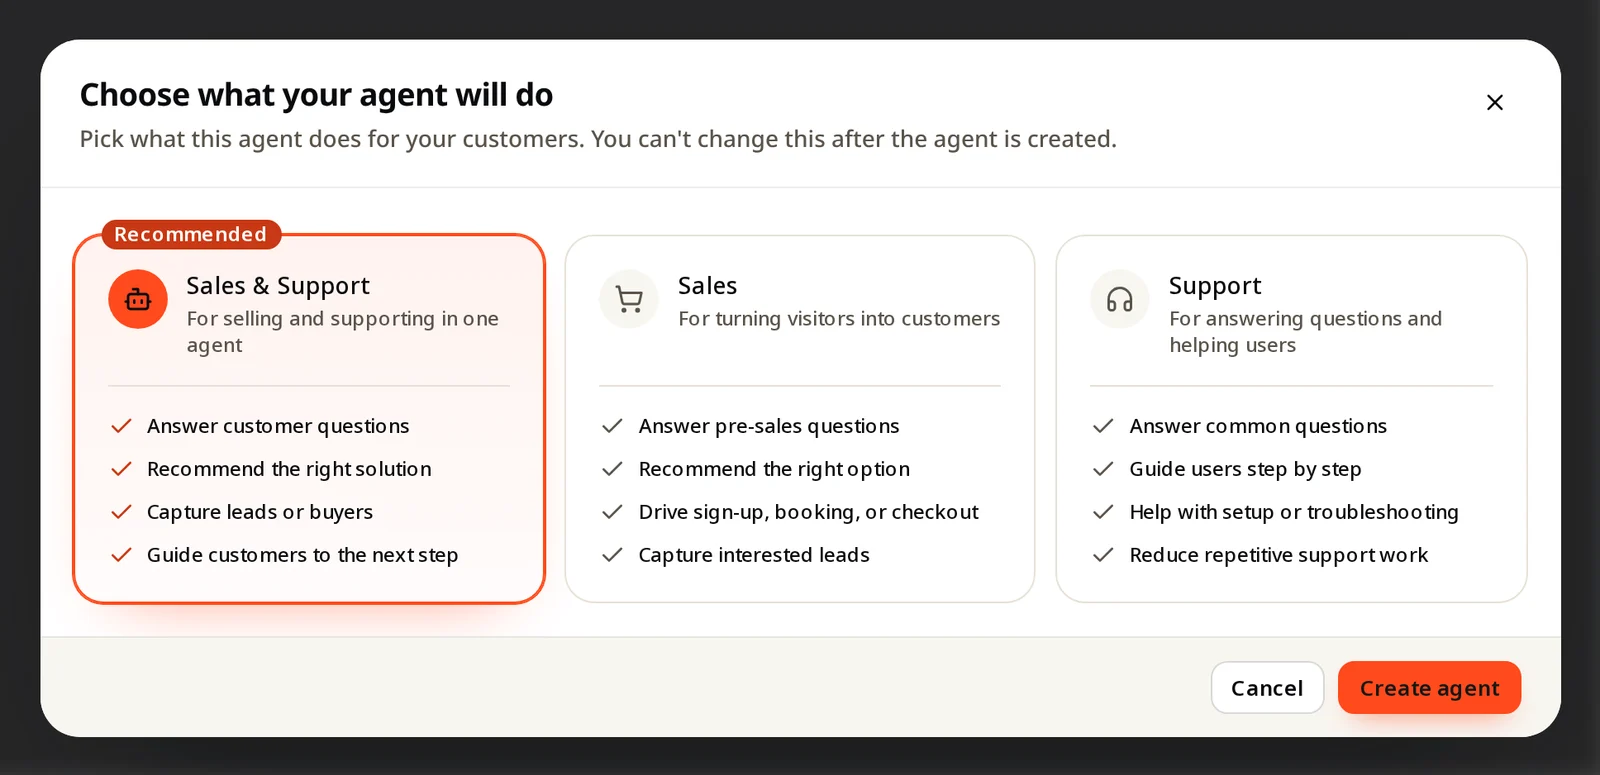
Not sure which one? Read Sales, Support or Sales & Support.
Step 3: Test it
On your agent's page, click Test agent and ask what your customers usually ask. Test chats are free; they don't use your conversations.
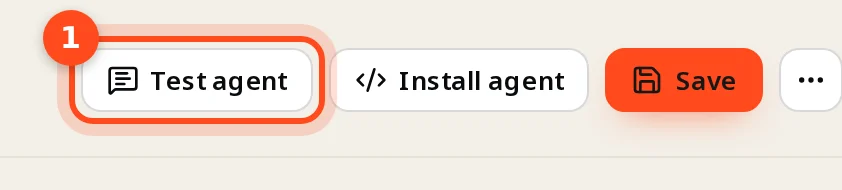
Wrong or missing answer? Add the answer in Knowledge, wait for Ready, and ask again.
Step 4: Put it on your website
Click Install agent, pick your platform, click Copy code, and paste it into your site. Full steps: Install your agent.
When your site has the code, the window shows Running on your address. You're live.
After you go live
- Every few days, open Customers → Couldn't answer and add the missing answers.
- Add 2–3 questions next to the chat button so visitors start with one tap.
- On a Sales agent, set the buttons visitors see (buy, book, contact form) and where leads go.