

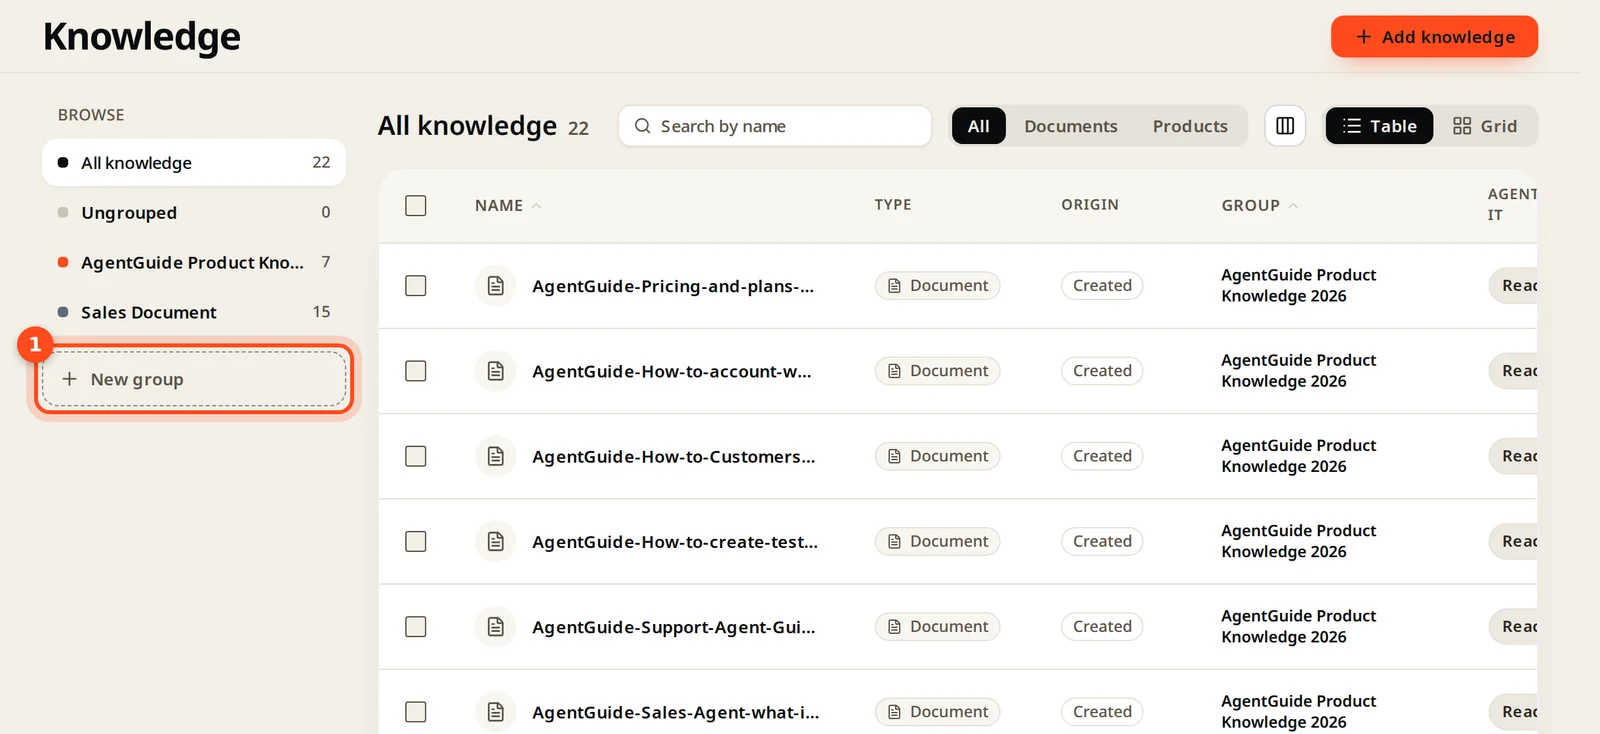
Create groups on the Knowledge page (New group), put items in them, and give each agent its own groups. New items in a selected group are used automatically.
Groups keep each agent focused. For example: a "Sales" group for your Sales agent, a "Help docs" group for your Support agent.
Create a group and add items
- On the Knowledge page, click New group in the left panel.
- Name it.
- Select items in the list, click Select groups, choose the group, and Save groups.
Give a group to an agent
On the agent page, Knowledge → Change selection, switch the menu to groups, tick the group and confirm. From then on, anything you add to that group is used by the agent automatically.
Good group set-ups
| Business | Groups |
|---|---|
| SaaS | Pricing & plans · Help docs · Policies |
| Online store | Products · Shipping & returns · Size guides |
| Services | Services & prices · Process · FAQ |
Ungrouped shows items not in any group yet.